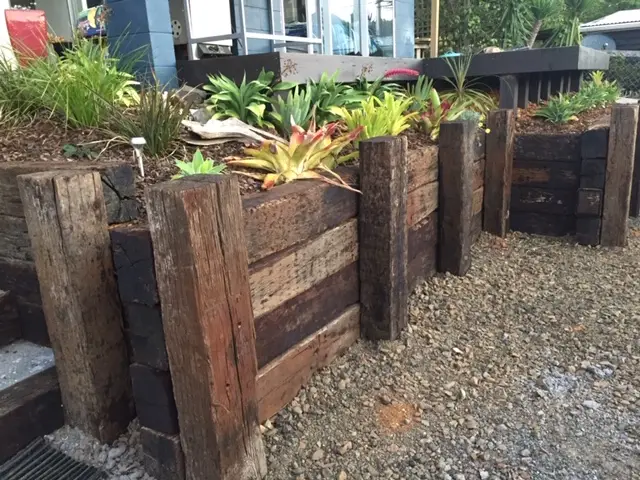
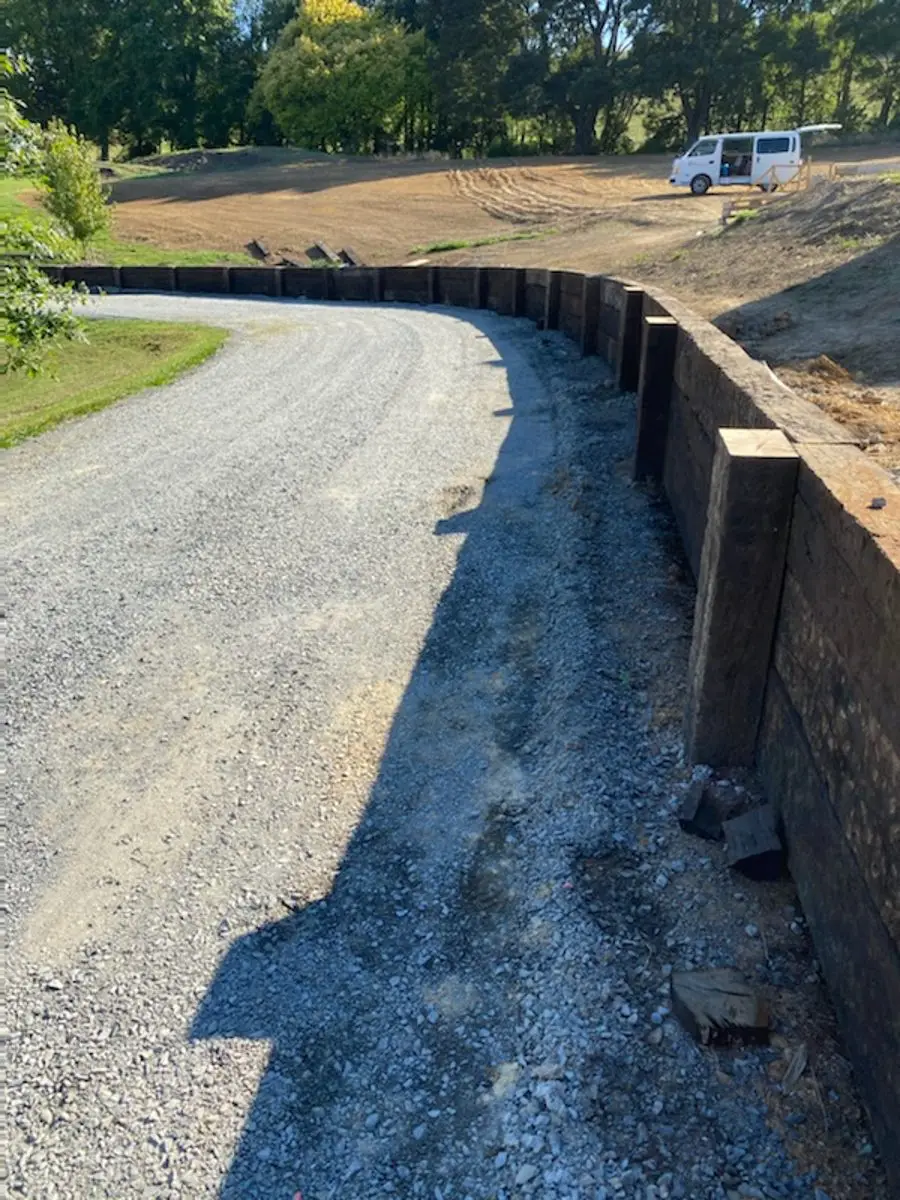
Building a timber retaining wall can be an excellent way to enhance both the functionality and aesthetics of your outdoor space. Whether it’s to create additional level space on a sloping section or to provide an attractive cover for an earth bank, a well-constructed retaining wall can serve multiple purposes. In this guide, we’ll walk you through the process of how to build a retaining wall using railway sleepers that are suitable for most environments.

It’s important to note that even low retaining walls must adhere to certain engineering standards to ensure stability, regardless of whether they require a building consent or not. Currently, in New Zealand, a retaining wall less than 1.5m or non-load bearing does not require building consent. However, building work must comply with the Building code, even if no building consent is needed, meaning, for example, drainage is required for example as step 10 indicates
12-Steps to build a retaining wall with railway sleepers
- Plan and measure the length and height of the wall, ensuring compliance with the building code.
- When using railway sleepers, ensure they are thick and solid sleepers. You use either treated railway sleepers (using the appropriate PPE gear), or a hardwood sleepers with ‘mulseal’ or similar protective coating (a tar like water proofing substance ) applied over the embedded sections of the posts and the side of the rails going into the bank. Mulseal or similar is available from your Mitre 10 or Bunnings Trade stores.
- Level the ground behind the wall to facilitate proper drainage.
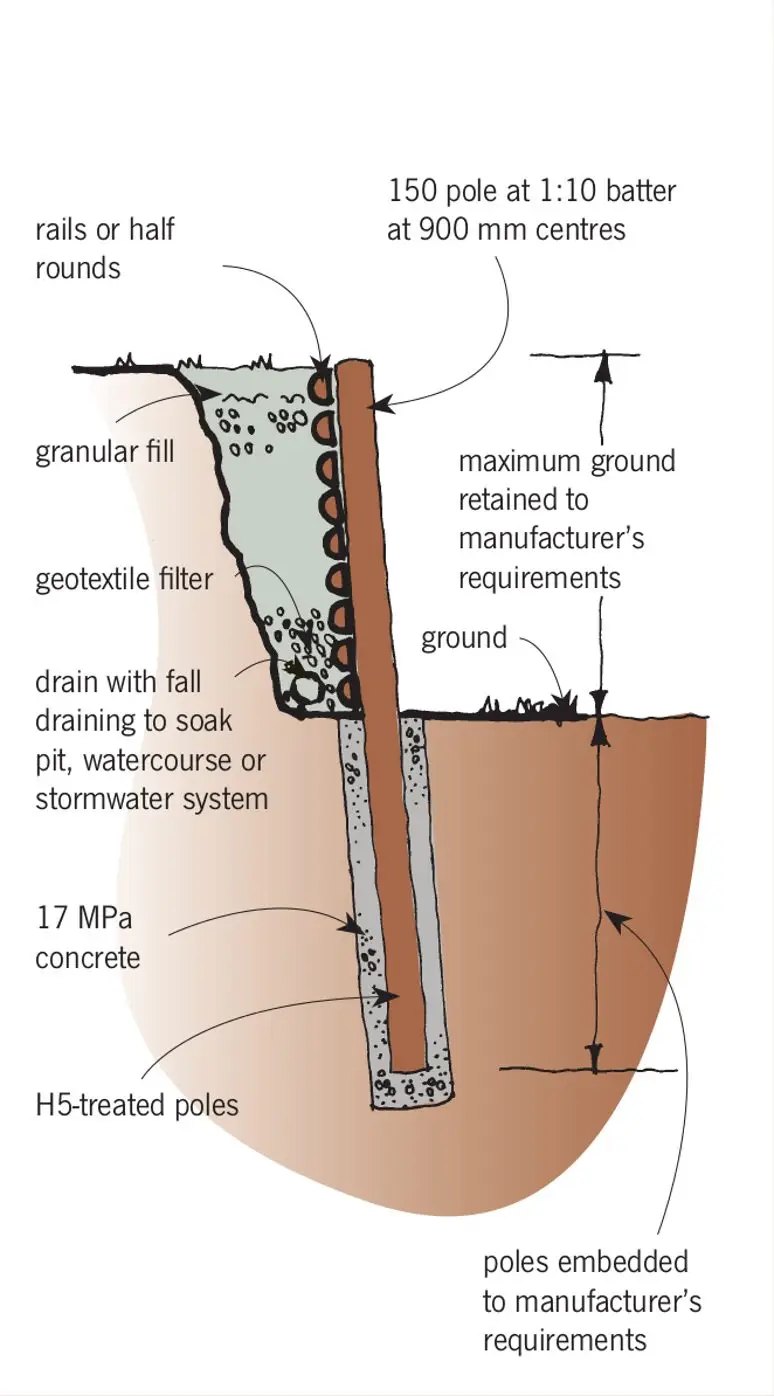
- Dig 500mm diameter holes, ensuring a depth equivalent to 70% of the wall’s height.
- Set the end sleeper posts in concrete first, starting with 100mm of concrete in the holes and placing the posts on top.
- Lean the posts slightly back into the hill for stability. Applying timber bracing to pegs on the ground and up to the posts top will assist to keep the posts in position while the concrete sets
- Install string lines at the top and bottom between the two end posts, then install intermediate posts using the string line to line them up.
- A tip: place a 20mm spacer at each end post under the string line to allow the line to be 20mm offset along the wall; this allows the posts to be 20mm ‘offset ‘ along the retaining wall to avoid inadvertently moving the string line. Concrete all your intermediate posts in place as per step 5
- Allow the concrete to set properly, typically over a couple of days.
- Nail horizontal rails to the back of the posts, starting from the bottom and working upward.
- Install a drainage system for the wall, including clean drainage metal and drain coil covered with a filter sock or geotextile fabric to reduce silting.
- Continue filling with drainage metal, ensuring a minimum of 300mm against the wall. Keeping backfill and drainage metal separate with a sheet of geotextile fabric.
- Top up with topsoil to assist plant growth, if desired.

Summary
Building a timber retaining wall requires careful planning and execution to ensure stability and longevity. By following these 12 steps, you can create a functional and visually appealing structure that enhances your outdoor space. Remember to adhere to local building codes and regulations, and consider consulting with professionals if your wall exceeds certain height or load-bearing thresholds.


Building Retaining Walls with Steel RSJs and Railway Sleeper
Steel beams, commonly referred to as RSJs, I-beams, or H-beams, combined with railway sleepers, can offer an alternative to timber posts and are robust and efficient solution for constructing retaining walls that meet building code when a wall is greater than 1.5m or is load bearing. Initially popular in industrial and commercial settings, this method is increasingly favoured for domestic projects seeking strength, practicality, and an industrial aesthetic.
Considerations:
- Cost: Steel RSJs can be expensive, impacting project budgets.
- Installation Challenges: The weight of steel beams requires sufficient manpower or lifting equipment for installation.
- Maintenance: Over time, steel beams may rust and discolour.
- Aesthetic Concerns: The industrial appearance of steel RSJs may not suit every landscape design.
Key Advantages:
- Ease of Construction: Simply concrete the steel beams into the ground and slot in the railway sleepers, akin to building a fence with concrete slotted posts.
- Strength and Durability: RSJs provide exceptional strength and longevity, making them suitable for high walls and demanding environments, such as shoring up rivers and pontoons.
- Easy Maintenance: Railway sleepers can be easily removed and replaced when needed.
- Structural Integrity: RSJs contribute to the stability of the wall, preventing twisting, warping, or buckling.
- Environmental Benefits: These walls can be made from 100% recyclable steel and timbers.
Construction Process:
- Measure the length of railway sleepers and calculate the spacing required for steel RSJs.
- Dig holes to the appropriate depth and position the steel beams vertically, ensuring proper alignment.
- Backfill with a dry concrete mix to secure the RSJs in place.
- Slot railway sleepers into the steel beams, ensuring a snug fit and considering drainage options.
- Optionally, a barrier between the soil and railway sleepers can be used to prevent rot and degradation.
- Consider the dimensions of steel RSJs based on wall height, load, and sleeper size.
Conclusion:
Building retaining walls with steel RSJs and railway sleepers offers a durable and practical solution for various landscaping projects. Despite some challenges, the strength, longevity, and structural integrity of this method make it a popular choice for both commercial and residential applications, particularly when seeking a robust and industrial aesthetic. This construction technique can result in a visually striking and environmentally sustainable retaining wall by carefully considering project requirements and addressing potential issues. As seen below.


